Artificial Turf Installation Process: A Step-by-Step Guide to Professional Results in 2025

Installing artificial turf is a complex process that requires careful planning, proper preparation, and skilled execution. Whether you're considering a DIY project or hiring professionals, understanding the complete installation process will help you make informed decisions and ensure the best possible results for your investment.
This comprehensive guide walks you through every step of professional artificial turf installation, from initial site assessment to final quality checks. By the end, you'll have a thorough understanding of what goes into creating a beautiful, durable synthetic lawn that will serve you well for decades to come.
Phase 1: Pre-Installation Planning and Site Assessment
Initial Site Evaluation
The installation process begins long before any digging starts. A thorough site evaluation is crucial for identifying potential challenges and determining the best approach for your specific property.
Key Assessment Factors:
- Drainage Analysis: Evaluating natural water flow patterns and identifying areas prone to pooling
- Soil Composition: Testing soil type, compaction levels, and existing drainage capabilities
- Slope and Grading: Measuring existing grades and determining necessary adjustments
- Utility Location: Identifying underground utilities, irrigation systems, and electrical lines
- Access Points: Planning equipment access and material delivery routes
- Existing Vegetation: Assessing trees, shrubs, and root systems that may affect installation
Design and Planning Phase
Based on the site assessment, professionals create a detailed installation plan that addresses your specific needs and site conditions.
Planning Components:
- Turf Selection: Choosing the right product based on intended use, traffic patterns, and aesthetic preferences
- Drainage Design: Planning drainage solutions including French drains, catch basins, or enhanced base systems
- Edge Details: Determining border treatments, transitions to hardscaping, and perimeter securing methods
- Infill Strategy: Selecting appropriate infill materials based on application and performance requirements
- Timeline Development: Creating a realistic schedule accounting for weather, permits, and material delivery
Phase 2: Site Preparation and Excavation
Marking and Protection
Before any excavation begins, the work area must be properly marked and existing features protected.
Preparation Steps:
- Utility Marking: Professional utility location services mark all underground lines
- Boundary Definition: Clear marking of installation boundaries and work zones
- Protection Measures: Covering or protecting nearby plants, structures, and hardscaping
- Access Preparation: Setting up equipment access routes and material staging areas
Excavation Process
Proper excavation is critical for long-term performance. The depth and method depend on soil conditions, drainage requirements, and intended use.
Excavation Standards:
- Depth Requirements: Typically 3-4 inches for residential applications, deeper for high-traffic or commercial areas
- Existing Grass Removal: Complete removal of natural grass, roots, and organic matter
- Soil Excavation: Removing appropriate depth of existing soil to accommodate base materials
- Root Barrier Installation: Installing barriers to prevent future root intrusion where necessary
- Rough Grading: Initial shaping to establish proper drainage slopes and contours
Weed Prevention Measures
Preventing future weed growth is essential for maintaining a pristine appearance and reducing long-term maintenance.
Weed Control Methods:
- Geotextile Fabric: Installing high-quality weed barrier fabric across the entire area
- Overlap and Seaming: Proper overlap and securing of fabric seams to prevent gaps
- Edge Securing: Anchoring fabric edges to prevent shifting during base installation
- Penetration Sealing: Sealing around any necessary penetrations for irrigation or lighting
Phase 3: Base Installation and Preparation
Base Material Selection
The base layer is the foundation of your artificial turf system. Proper material selection and installation are crucial for drainage, stability, and longevity.
Common Base Materials:
- Crushed Granite: Excellent compaction and drainage properties, ideal for most applications
- Crushed Concrete: Recycled option with good drainage, suitable for many installations
- Decomposed Granite: Fine material that compacts well, good for smooth surfaces
- Specialized Drainage Stone: Open-graded materials for enhanced drainage in challenging conditions
Base Installation Process
Proper base installation involves multiple steps to ensure optimal performance and longevity.
Installation Steps:
- Material Delivery and Spreading: Evenly distributing base material across the prepared area
- Initial Leveling: Rough grading to establish proper slopes and elevations
- Moisture Addition: Adding optimal moisture content for compaction (typically 6-8%)
- Compaction Process: Multiple passes with plate compactors or rollers to achieve 95% compaction
- Fine Grading: Precise leveling and smoothing to create the final surface profile
- Quality Control: Testing compaction levels and verifying proper drainage slopes
Drainage Integration
Proper drainage is essential for preventing water accumulation and ensuring long-term performance.
Drainage Solutions:
- Surface Drainage: Creating proper slopes to direct water away from the turf area
- Subsurface Drainage: Installing French drains or drain tiles where necessary
- Edge Drainage: Ensuring proper drainage at perimeters and transitions
- Catch Basins: Installing collection points for areas with concentrated water flow
Phase 4: Turf Installation and Seaming
Turf Layout and Planning
Proper turf layout minimizes waste and ensures the best possible appearance with strategically placed seams.
Layout Considerations:
- Grain Direction: Ensuring consistent fiber direction across the entire installation
- Seam Placement: Positioning seams in low-visibility areas and away from high-traffic zones
- Pattern Matching: Aligning any patterns or color variations for seamless appearance
- Waste Minimization: Optimizing layout to reduce material waste and costs
Turf Installation Process
Installing the turf requires precision and attention to detail to achieve professional results.
Installation Steps:
- Initial Positioning: Carefully positioning turf rolls according to the layout plan
- Trimming and Fitting: Precise cutting to fit around obstacles and achieve proper dimensions
- Seam Preparation: Preparing edges for joining, ensuring clean, straight cuts
- Adhesive Application: Applying seaming tape and adhesive for permanent joints
- Seam Joining: Carefully joining pieces to create invisible seams
- Edge Securing: Anchoring perimeter edges with nails, staples, or bender board
Professional Seaming Techniques
Quality seaming is what separates professional installations from amateur attempts.
Seaming Best Practices:
- Edge Preparation: Clean, straight cuts with sharp blades for perfect alignment
- Adhesive Selection: Using appropriate adhesives for climate and application conditions
- Pressure Application: Ensuring proper bonding with adequate pressure and cure time
- Fiber Integration: Blending fibers across seams for invisible joints
- Quality Inspection: Thorough inspection of all seams before proceeding
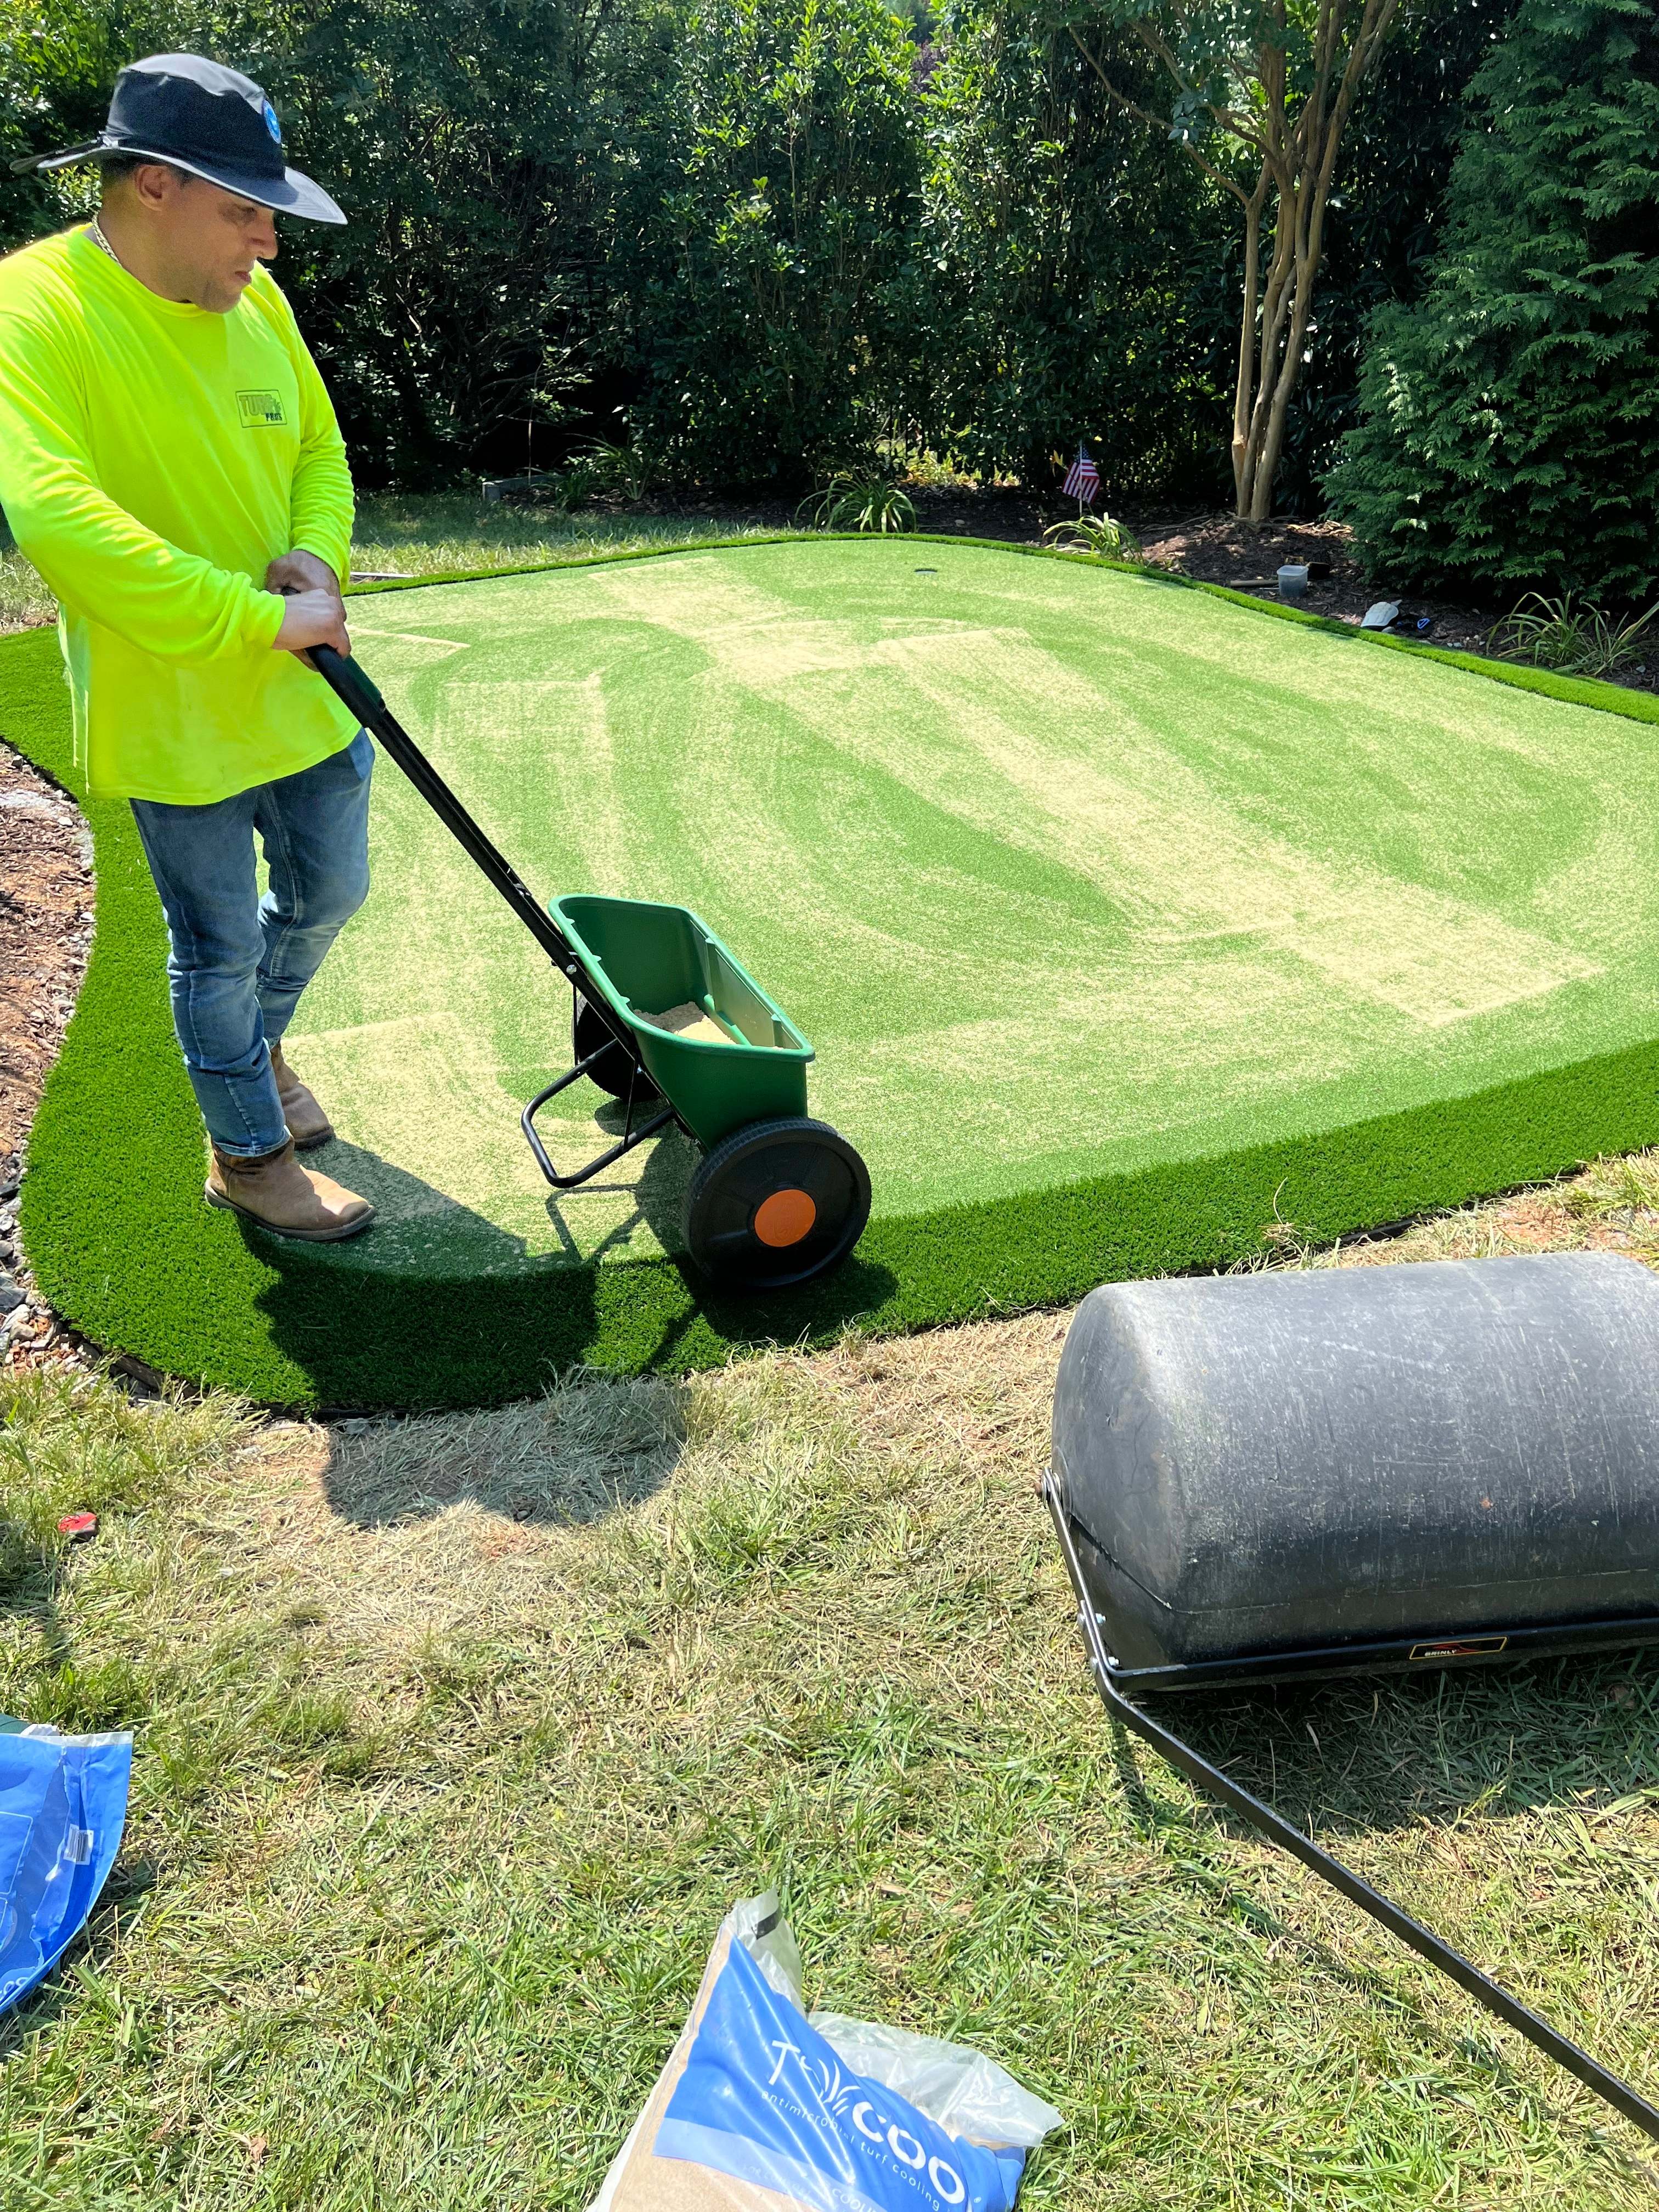
Phase 5: Infill Application and Distribution
Infill Selection and Purpose
Infill serves multiple critical functions in artificial turf systems, from providing stability to enhancing performance characteristics.
Infill Functions:
- Ballast Weight: Providing weight to keep turf in place and prevent shifting
- Fiber Support: Helping grass blades stand upright for natural appearance
- UV Protection: Shielding the backing from harmful UV radiation
- Temperature Control: Some infills help reduce surface temperatures
- Drainage Enhancement: Facilitating water flow through the system
- Antimicrobial Properties: Specialized infills can inhibit bacterial growth
Application Process
Proper infill application requires specific techniques and equipment to ensure even distribution and optimal performance.
Application Steps:
- Material Preparation: Ensuring infill is clean, dry, and properly sized
- Initial Distribution: Spreading infill evenly across the turf surface
- Brushing Integration: Working infill into the turf fibers with specialized brushes
- Depth Verification: Checking infill depth to ensure proper coverage
- Final Brushing: Final brushing to achieve optimal fiber orientation
- Cleanup: Removing excess infill from surrounding areas
Phase 6: Final Inspection and Quality Control
Comprehensive Quality Checks
Professional installations include thorough quality control measures to ensure the finished product meets the highest standards.
Inspection Checklist:
- Seam Quality: Verifying all seams are invisible and properly bonded
- Edge Security: Ensuring all perimeter edges are properly secured
- Surface Smoothness: Checking for any irregularities or imperfections
- Drainage Function: Testing water flow and drainage performance
- Infill Distribution: Verifying even infill coverage and proper depth
- Fiber Orientation: Ensuring consistent fiber direction and appearance
- Cleanup Completion: Confirming all debris and excess materials are removed
Performance Testing
Professional installers conduct various tests to ensure the system will perform as expected.
Testing Procedures:
- Drainage Testing: Water application to verify proper drainage rates
- Stability Testing: Checking for any movement or shifting under load
- Appearance Evaluation: Assessing overall appearance and uniformity
- Safety Inspection: Ensuring no hazards or trip points exist
Post-Installation Care and Maintenance Setup
Initial Settling Period
New artificial turf installations require a brief settling period for optimal performance.
Settling Phase Guidelines:
- Traffic Limitations: Avoiding heavy traffic for the first 24-48 hours
- Infill Settlement: Allowing infill to settle naturally into optimal position
- Fiber Recovery: Permitting compressed fibers to return to upright position
- Adhesive Curing: Allowing seam adhesives to fully cure before heavy use
Maintenance Program Setup
Establishing a proper maintenance routine from the beginning ensures long-term performance and appearance.
Initial Maintenance Tasks:
- Regular Brushing: Weekly brushing to maintain fiber orientation
- Debris Removal: Clearing leaves, twigs, and other organic matter
- Spot Cleaning: Addressing spills and stains promptly
- Infill Monitoring: Checking infill levels and redistributing as needed
- Drainage Maintenance: Keeping drainage areas clear of debris
Common Installation Challenges and Solutions
Drainage Issues
Poor drainage is one of the most common problems in artificial turf installations.
Prevention and Solutions:
- Proper Site Assessment: Thorough evaluation of existing drainage conditions
- Adequate Base Preparation: Installing appropriate base materials and thickness
- Slope Management: Creating proper grades for surface water management
- Subsurface Drainage: Installing French drains or other drainage systems when needed
Seaming Problems
Visible or failing seams can significantly impact the appearance and longevity of artificial turf.
Professional Solutions:
- Precise Cutting: Using sharp blades and proper techniques for clean edges
- Quality Adhesives: Selecting appropriate adhesives for local climate conditions
- Proper Curing: Allowing adequate time for adhesive curing
- Fiber Integration: Carefully blending fibers across seam lines
Why Professional Installation Matters
Expertise and Experience
Professional installers bring years of experience and specialized knowledge to every project.
Professional Advantages:
- Site Assessment Skills: Ability to identify and address potential problems before they occur
- Proper Equipment: Access to specialized tools and machinery for optimal results
- Material Knowledge: Understanding of different products and their appropriate applications
- Installation Techniques: Mastery of advanced techniques for superior results
- Problem Solving: Experience in addressing unexpected challenges during installation
- Warranty Protection: Comprehensive warranties covering both materials and workmanship
Long-Term Value
Professional installation provides long-term value that far exceeds the initial cost difference.
Value Proposition:
- Extended Lifespan: Proper installation significantly extends turf life
- Reduced Maintenance: Professional installation minimizes future maintenance needs
- Performance Optimization: Ensuring the system performs as designed
- Warranty Coverage: Protection against defects and installation issues
- Peace of Mind: Confidence in the quality and durability of the installation
Conclusion: Investing in Quality Installation
The artificial turf installation process is complex and requires careful attention to detail at every step. From initial site assessment through final quality control, each phase plays a crucial role in the long-term success of your synthetic lawn.
While the process may seem straightforward, the reality is that proper installation requires specialized knowledge, experience, and equipment. Professional installers understand the nuances of site preparation, drainage management, seaming techniques, and quality control that make the difference between a mediocre installation and an exceptional one.
When you invest in artificial turf, you're making a long-term commitment to your property's appearance and functionality. Ensuring that installation is done correctly from the beginning protects that investment and guarantees you'll enjoy the full benefits of your synthetic lawn for decades to come.
The step-by-step process outlined in this guide demonstrates why professional installation is worth the investment. The expertise, equipment, and experience that professionals bring to your project ensure optimal results that will stand the test of time.
Ready to start your artificial turf installation project? Contact Turf Professionals today for a comprehensive consultation. Our experienced team will assess your property, discuss your needs, and provide a detailed installation plan that ensures exceptional results for your investment.
